
Combat
Lock a target, open fire and let your guns work. Everything else is timing: when to vent your Heat, when to spend Overdrive, which cell to load and which tech to fire.
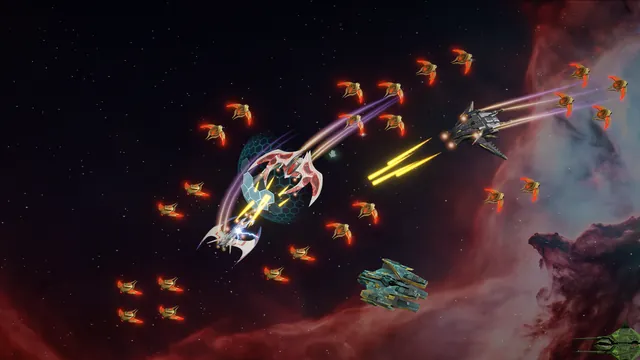
- 01Lock a targetClick an enemy you can see. You aim the lock, never the shot: the lock holds until the target leaves your view.
- 02Open firePress Ctrl (or Cmd on a Mac) once to start firing and again to stop. Your lasers keep firing at the lock until you stop or it is destroyed.
- 03Keep movingEnemies circle you and fire at where you are. Holding a circle just outside an enemy’s reach keeps you out of most of its shots.
There are no weak points, just health bars. Every laser you fit fires once every 0.9 s, and each shot lands within 10% of its average, so damage has texture. Your own hits, the hits you take and every hit on an enemy show real numbers; in someone else’s fight, hits on a pilot you have locked show as a percent of their health.
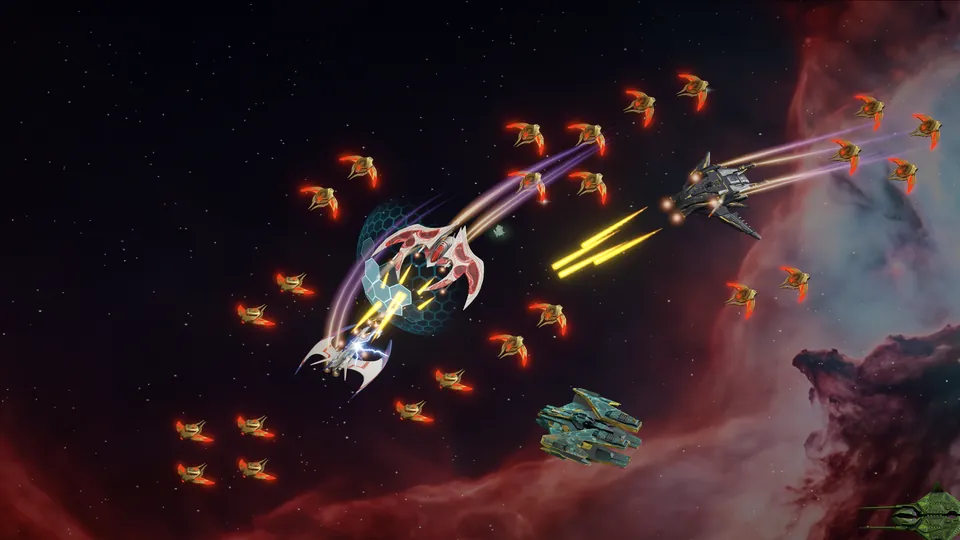
Every laser shot burns one Energy Cell, and the cell you load sets how hard it hits. Load one from its dock slot: each slot has a number key, 1 to 0. Loading a cell while you have a lock also opens fire.
- Lite
- Damage
- ×1
- Price each
- 10
- Core
- Damage
- ×2
- Price each
- 25
- Heavy
- Damage
- ×3
- Price per 100
- 10
- Ultra
- Damage
- ×4
- Price per 100
- 20
- Leech
- Damage
- ×2
- Shield
- +60%
- Price per 100
- 10
- Salvo
- Damage
- ×4.5
- Cooldown
- 3 s
- Price per 100
- 20
- Lite and Core are bought with Credits; Heavy, Ultra and the two tactical cells with Rift Crystal.
- Leech hits the target’s shield only, never its HP, and refills your own shield from what it drains. Useless once their shield is gone.
- Salvo: arm it and your next volley lands as one big burst, then your guns go back to the cell you had.
Rockets fly one at a time at your lock, apart from your lasers: cells never boost them. Pick the rocket on your dock; it fires on its own while your guns are firing, and Space fires one at once.
- Rocket-1
- Damage
- 600
- Cooldown
- 1.5 s
- Price each
- 150
- Rocket-2
- Damage
- 2,300
- Cooldown
- 1.5 s
- Price each
- 600
- Rocket-3
- Damage
- 4,700
- Cooldown
- 1.5 s
- Price each
- 5
Steady fire fills your Heat meter. When it is full, your ship releases a Heat Pulse: a blast that hits every enemy close around you for 50% of one of your volleys, on shield and HP alike. Once Heat is past 50% you can vent it early with V.
- It reaches about half your laser range, so it catches every alien close enough to shoot you.
- It hits aliens everywhere, and enemy pilots wherever PvP is allowed, never a ship in a safe zone.
- It never slows your guns, and Heat cools down again when you stop firing.
- A pulse never wakes a passive alien and never steals someone else’s kill.
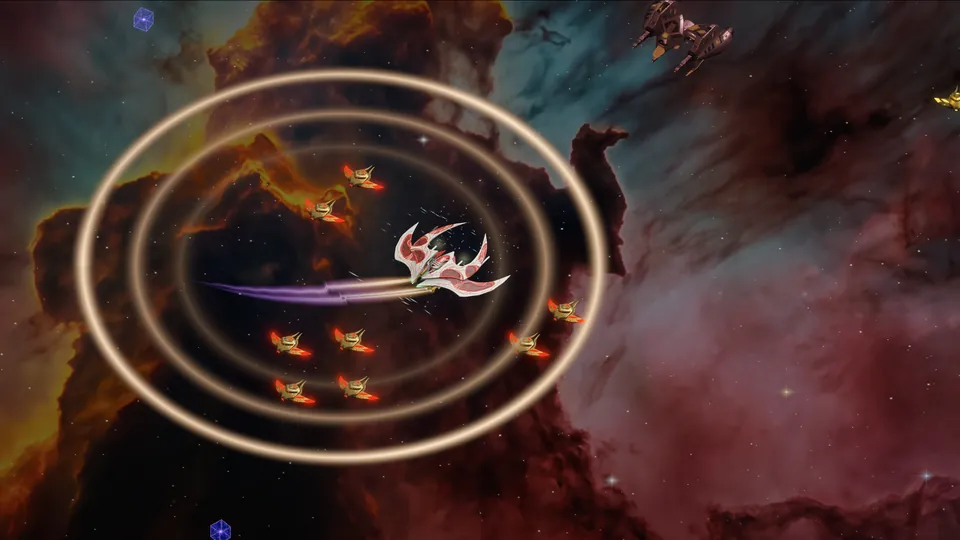
Overdrive has its own meter, and only destroying enemy pilots fills it: no alien kill ever does. Each pilot you destroy fills 20%, so 5 in a row fill it, and your run breaks only when you are destroyed. Press Q on a full meter and for 6 s your guns hit 50% harder and fire 50% faster.
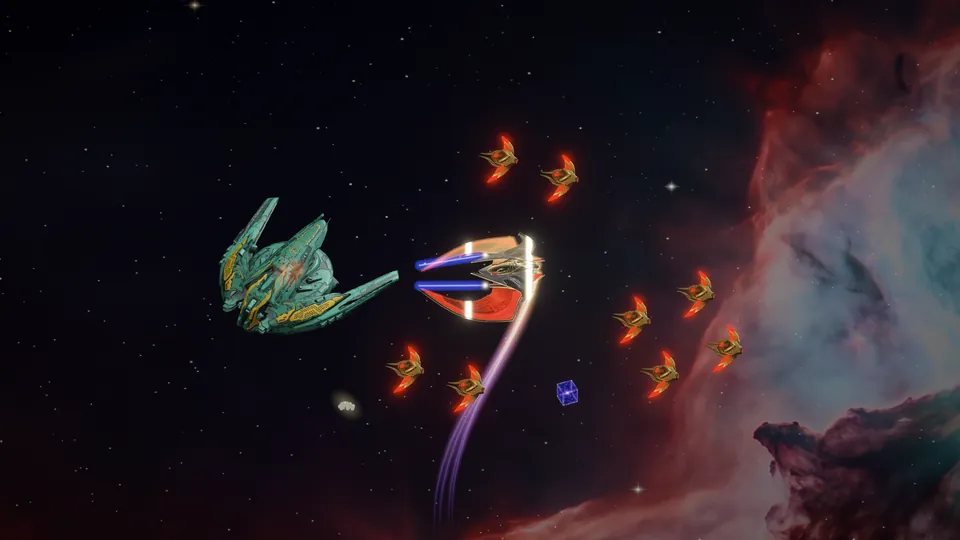
Six tech extras, each on its own dock key, for the moment a fight turns. Each one needs its core fitted as an extension in the config you fly, and spends one charge per use. A cooldown starts once its effect ends. The game refuses before it spends a charge, and says why.
- EMPEvery lock on you drops, at any range, and nobody can lock you for a moment. No damage.
- Fission ChargeA blast that takes a share of the shield and HP of every enemy pilot near you. It can never destroy anyone, and alien enemies and your own side are untouched.
- Nanite SwarmFast HP repair for a short while, even under fire.
- Plasma SiphonFor a long window, part of your laser damage comes back as HP. Once your HP is full it charges your Overhull.
- Reserve ShieldAn instant shield top-up, never past your maximum.
- Bulwark FieldA few seconds in which nothing can damage you, and you can keep firing.
- EMP
- Duration
- 4 s
- Cooldown
- 30 s
- Charge
- 25
- Core: EMP Core
- 250
- Fission Charge
- Drain
- 20%
- Duration
- Instant
- Cooldown
- 30 s
- Charge
- 40
- Core: Fission Core
- 400
- Nanite Swarm
- Repair
- 10,000/s
- Duration
- 10 s
- Cooldown
- 120 s
- Charge
- 20
- Core: Nanite Core
- 200
- Plasma Siphon
- Back as HP
- 10%
- Duration
- 600 s
- Cooldown
- 300 s
- Charge
- 30
- Core: Siphon Core
- 300
- Reserve Shield
- Shield
- +100,000
- Duration
- Instant
- Cooldown
- 120 s
- Charge
- 15
- Core: Reserve Core
- 150
- Bulwark Field
- Duration
- 3 s
- Cooldown
- 60 s
- Charge
- 30
- Core: Bulwark Core
- 300
Overhull
The yellow strip over your HP bar is your Overhull: damage takes your shield first, then Overhull, then HP. Only the Plasma Siphon fills it; nothing repairs it, and it is empty when you are destroyed.
Config 1 and Config 2 are two saved fits on one ship: its lasers, generators, extensions and what your drones carry. Swap with C, even in flight, with a short wait between swaps. The hull is shared, so swapping is never a repair. Config 2 opens at level 8.
The dock has two rows of keys, slot set A and slot set B, for your cells, rockets and tech. Switch with R. A slot set changes your keys, never your fit.
- The ConcordAlways safe: every attack is refused.
- Your baseProtected: an enemy may not start a fight there. A pilot who fires on an enemy from a base can be fired back on until they are destroyed.
- Fronts and The BreachOpen PvP, where the three factions meet. Arriving through a portal there is not sheltered.
- Home maps 2 to 8PvP too. Pilots of the other factions can enter your home maps from level 32, so near the top of the climb only your base stays protected.
- Pilots of the same faction, squad or clan never fight each other, anywhere.
- Stations shelter pilots on every map. Portals shelter you everywhere except the contested maps.
- Destroying an enemy pilot pays experience, Rank Points, drone points and Overdrive, and Honor on the contested maps. It never pays Credits or Rift Crystal. See Honor.
- An enemy pilot destroyed
- XP
- 10 × their level
- Honor
- +10
- Rank Points
- +100
- Drone points
- +30
- Credits
- 0
- Rift Crystal
- 0
The first pilot (and their squad) to land an aimed shot or rocket on an enemy owns the kill. If they stop hitting it for a while, the kill passes to whoever keeps damaging it. An enemy finished only by Heat Pulses pays the squad that did the most damage.
Help and still get paid
Other pilots who did real work on an alien earn an Assist: 40% of its XP and 20% of its Credits, on top of the kill and never taken from it. An assist pays no Rift Crystal, Honor or loot.
In a squad, the members on the map who are in the fight share the kill. A member sitting idle gets no share.
Once you are well above a map’s level, its aliens pay less Credits, experience and Honor, and then none: "you have out-levelled this sector" means it is time to move up. Their Rift Crystal does not shrink.